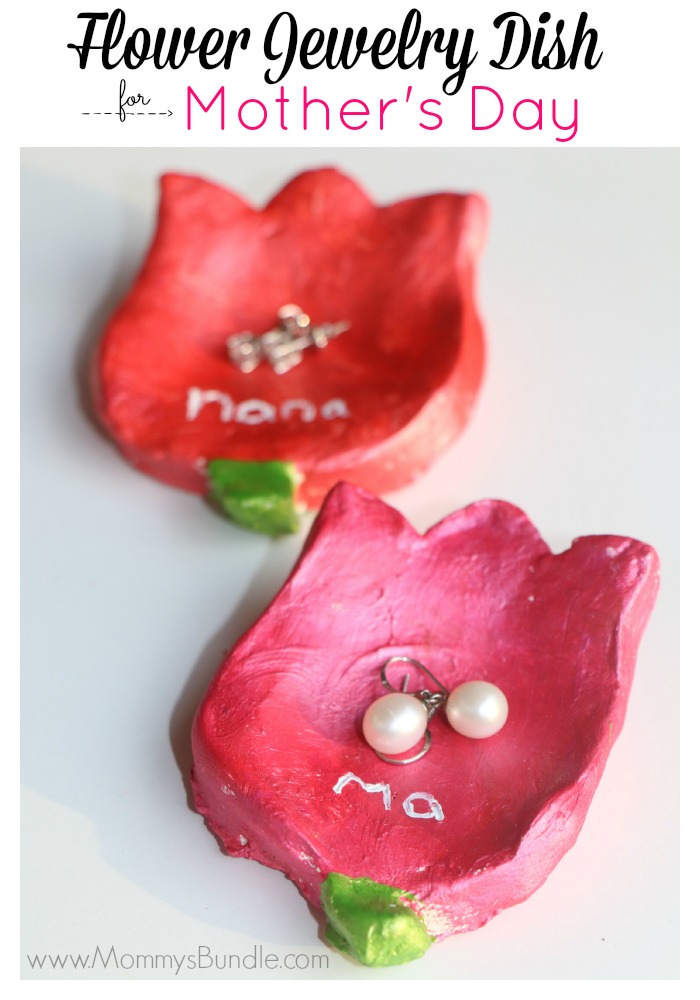
Inside: Easy kid-made flower-shaped jewelry dish for mom. A heartfelt gift idea for mom this Mother’s Day!
These days it seems I’m always running from one room to the next and misplacing jewelry in the process. I don’t wear too much jewelry with the kids grabbing at me and all, so end up taking it off and placing it aside…usually some place I can’t remember.
But with Mother’s Day a couple days away, I wanted to create something simple enough for my toddler to help with, but special enough to work as a keepsake for mommy (and grandma). (This is a perfect gift to give mom on any holiday, actually!)
Related: Easy Flower Handprint for Mom
After getting some inspiration from this awesome hand-shaped ring dish, I knew I wanted to create something similar but with a little twist for Mother’s Day. I decided I could use a cookie-cutter and create a flower-shaped jewelry dish small enough to carry around and leave in the bathroom for storing one or two pieces of jewelry.
 This post may contain affiliate links.
How to Make a Jewelry Dish with Kids
Materials:
- Air Dry Clay (I used this one from Crayola)
- Acrylic Paints & Brushes
- Cookie cutter (I used a heart-shape and tulip-shape)
- Spatula
- Cup of Water
- Toothpick
First you’ll need to gather about two small handfuls of clay and roll-out. You can use a rolling pin if you have handy, but I didn’t want mine too thin so just used my hands, flattening it out and pounding down until I got a smooth surface with about half an inch thick.
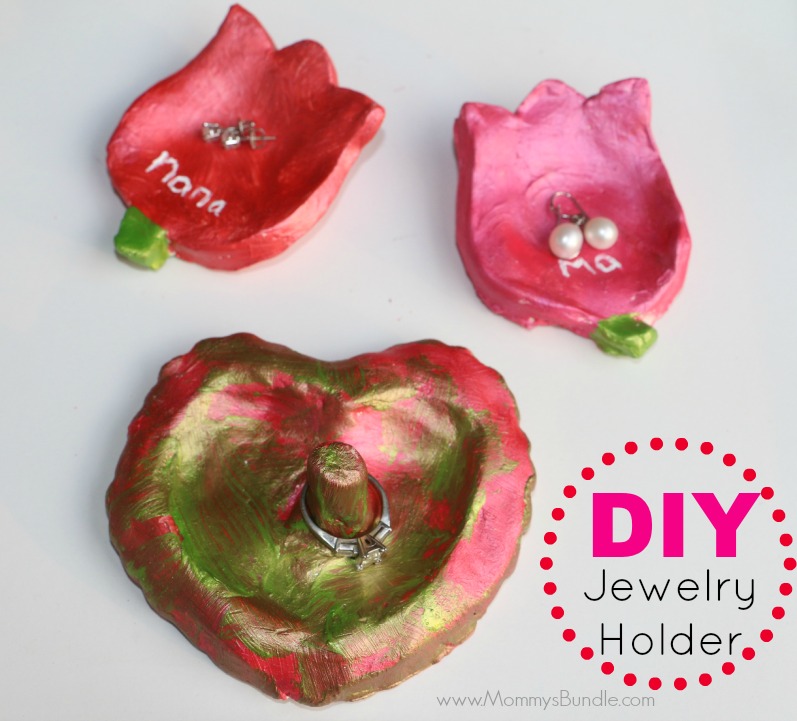
For the first dish, I used a heart-shaped cutter with jagged edges. I used water to soften the edges and create a little basin to hold jewelry in place. I wanted to make sure my rings would stay in place so added a little cylinder (about an inch of clay) to the center. To attach the piece, I used water again to soften and join.

Then I used a tulip-shaped cookie cutter to create the exact pattern I needed. This made it much easier than trying to trace or draw free hand.
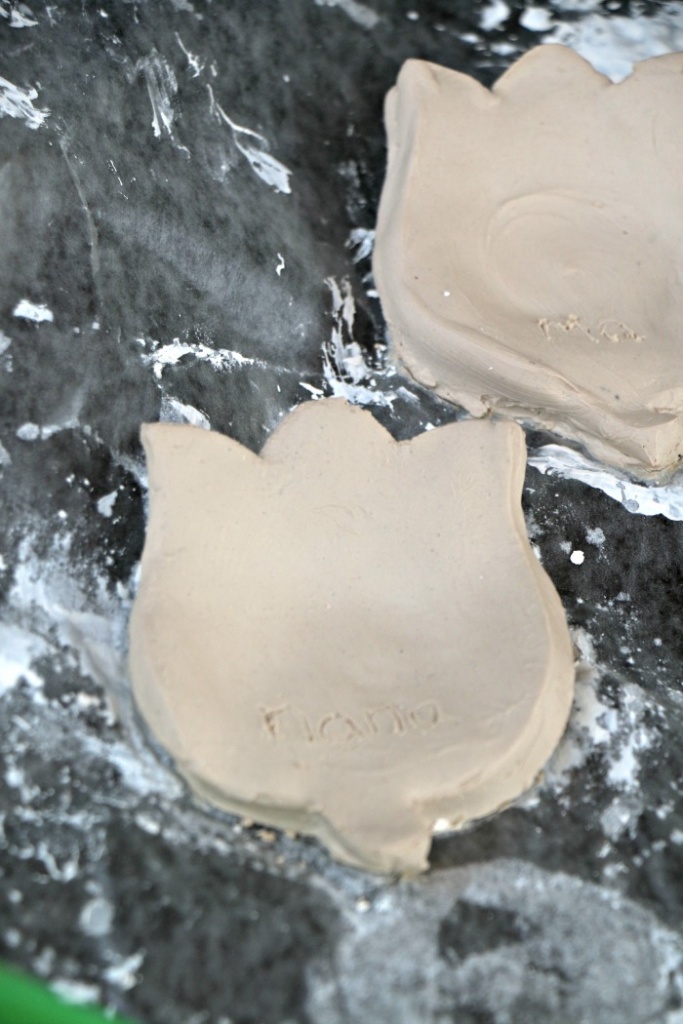
You can even personalize the gifts with a toothpick — we carved out “Nana” and “[Grand]Ma”.
The hardest part for me was picking up the clay to set aside for drying. It got sticky and wouldn’t peel off easily, so I used a wet spatula to scoop up!
Because I was working with air-dry clay, there was no need for baking. I just let the clay harden over a couple nights. Note: If you are in a real rush, you can use less clay (about 1/4 inch thick) and it should dry overnight or pop it in the oven at a low temperature to speed up the process.
When dry, have your child paint the clay. My little guy had fun going wild with the pinks and green color here. It was a real piece of art :)!!
We then used two different shades of pink for the flowers. My 3 year-old did a pretty good job – I just filled in the edge/stem.
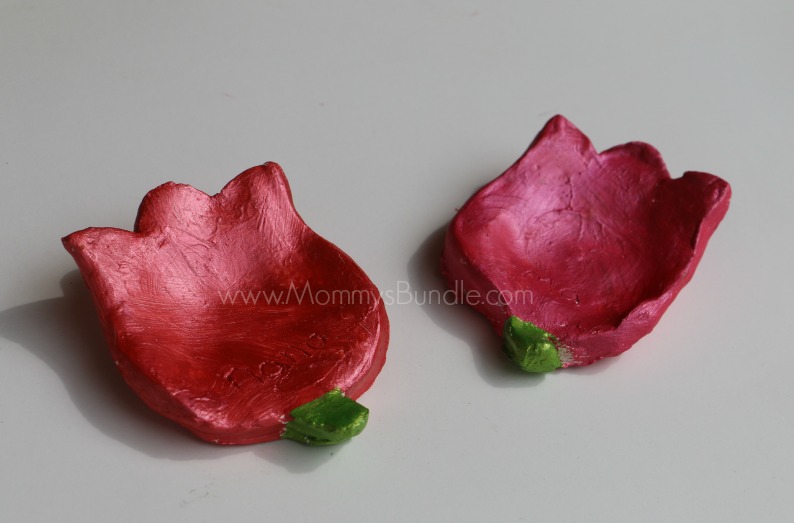
You can seal the color with mod podge to complete the dish and add some shine too.
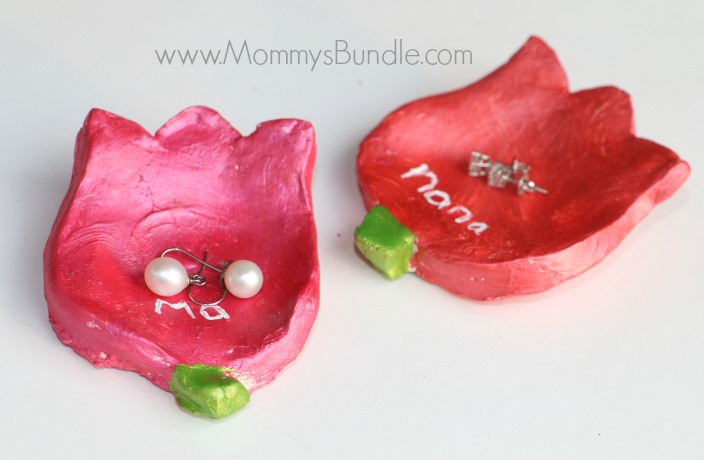
I love how pretty these turned out and can’t wait to make more of these next year! Perfect for any other special occasion too!!
If you enjoyed this post, you may like:
Ana, a mom to three rambunctious little boys, has supported hundreds of thousands of women throughout their pregnancy and motherhood journey since 2012 as a blogger and maternal health advocate at MommysBundle.com.



These are so cute! They look so fun to make too!
Tarynn Playle recently posted…Mama Improvement Project: Healthier Lifestyle
Thank you – they were so fun to make and there are so many more ways to get creative!
So cute! Going to do this with my kids 🙂